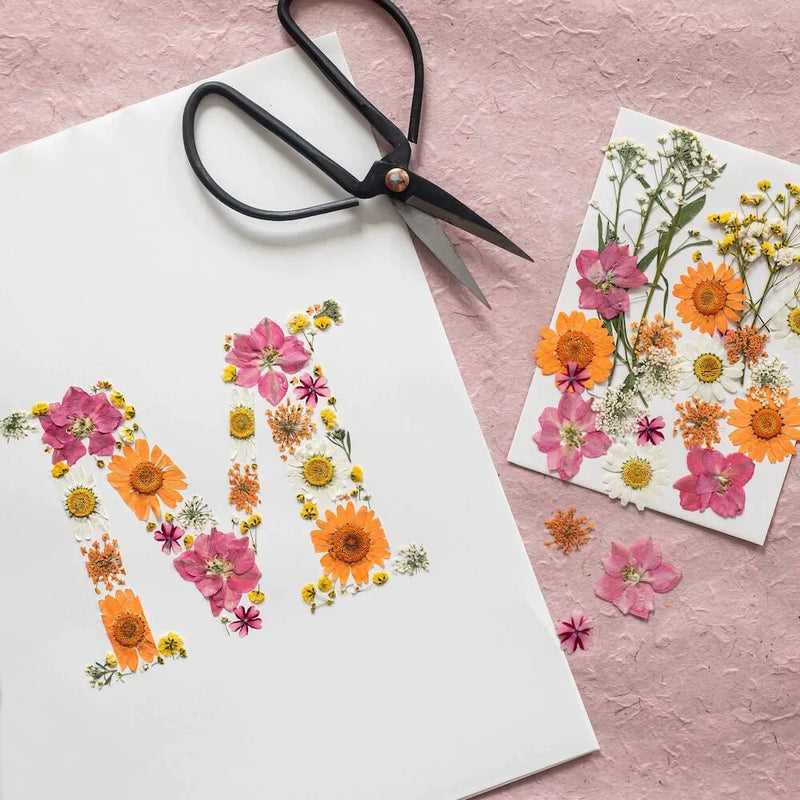
How to make a herbarium?
Summary
The practice of herbaria was born in the 1530s in Italy. Luca Ghini, professor of botany in Bologna, constitutes 300 dried plants. Having a herbarium can be done with the family, with the children. This is an excellent idea of DIY manual activity (Do It Yourself) to learn to recognize the species of plants of nature. Here are our tips and steps to pass one's herbarium.
Do you want to create and be guided step by step for a creation? Find them DIY kits from Flowrette. They will allow you to learn know-how and create the creation of your choice with the advice of our craftsmen.
Step 1: bring together the equipment and information necessary for the creation of a herbarium
What is the best time to pick flowers in the garden? What are tools necessary for the creation of a herbarium ? What is the interesting information to remember? Here is our opinion.
Tips for choosing the useful equipment for making herbaries
The creation of a herbarium is within everyone's reach, including a young child. Here is the material necessary for the DIY realization of this activity:
- Flower samples and dried leaves:
- A cardboard or wooden box for harvesting;
- A pair of scissors;
- A notebook, leaves or a ready to use book;
- Newspaper for conservation;
- Special glue or adhesive tape;
- What to write.
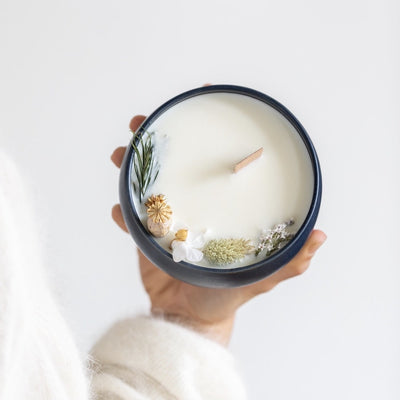
Pour the oil into a glass and gently place the floating wick with the cork float in the oil. Now to make the oil candle a Special scented candle, add spices, flowers and other natural oil additives. Thus, your candle will be scented and will give off a soft smell in your living room.
Harvest different species of flowers and leaves
In the garden or in nature, certain rules must be respected. Indeed, different ways of taking a flower exist. Be careful Do not pick protected specimens.
When and how to take plants in nature?
Whether you combine the varieties in the house garden or in the great outdoors, the important thing is to do so in dry weather. The humidity prevents plants from drying. Like a scientist, ask your child to cut the flower at his base rather than tore it. Transport the harvest to plastic bags To keep the freshness. Hold your sachets in the shade, in a wooden box.
Scientific data ideas to note during harvest
The creation of a herbarium is a fun and educational activity to do with children. Here are some useful info to record in your herbarium:
- The date and place of the harvest;
- The name of the plant;
- Culture conditions;
- A photo of the sample taken.
Did you know?
Some specimens are endangered species.
These rare or disappearance plants should not be taken. Ask the website of INPN (National Natural Heritage Inventory) To find out what are the varieties not to be harvested.
Step 2: drying of specimens
Once the flowers and leaves have been hardened, you must proceed to the drying stage. Journal, cardboard or plastic: what to choose? Here's how Get beautiful dried plants.
Get beautiful dried flowers
To dry quality, each plant must be placed between two sheets of newspaper to absorb moisture.
Put the whole in a cardboard shirt and place a heavy object over.
Repeat this operation to put your entire harvest to dry. Every 3 days change the sheets of newspaper.
It is necessary to count 3 to 4 weeks to get samples perfectly dry plants.

The decor tip: keep the colors of the plants of a herbarium
Make sure that each harvested plant is Colorful and fresh. To keep the bright colors, it is advisable to choose A quick drying method. Conservation must be done in a dark place, in a wooden or cardboard box ideally. The sun's rays discolour dry flowers and leaves.
Step n ° 3: the composition and decoration of his homemade herbarium
The time has come from Set up your samples in your herbarium. Paste, label, decorate, here are our tips for creating a unique DIY herbarium, worthy of the greatest scientific books.
Book, decorative frame or scientific notebook, how to choose the container?
Ready to use notebook or boards to assemble?
It's up to you to decide. Opt for thick leaves paper (approximately 200g/m²) in A3 format to enhance plants.
Spiral binding is a good idea, because it allows you to consult the book without risking damaging the content.
You can also keep your samples on Independent boards, grouped in a drawing book.
Do not hesitate to apply transparent plastic sheets to protect your herbarium.
A decorative idea: calligrapher the information gathered during picking.
Ideas for fixing plant samples
How to "fix" dried species without risking tearing them? There are adapted glues or adhesive tape Herbiers special. It is also possible to use Fine strips of gummé paper To apply against the flower stem and stick with simple glue. Never apply glue directly to the plant.
Step n ° 4: Our tips for decorating a house with a herbarium
These naturalistic books can be part of the decoration of a house and bring a bohemian touch. Hang above the dining room table, a XXL setting in which you will enhance one of your creations.
Between Two glass plates, you can "wedge" dried plants and even Hang these DIY frames on the ceiling for more transparency.
Originally, the herbaria continue A naturalist goal : Collect information on different plant specimens. The research recorded in these books is a Precious documentary source.
With some tips, it is possible to make a herbarium stages in stages alone.
A manual and educational activity that pleases children a lot.



Écrire un commentaire